


When selecting coatings for home improvement, choosing latex for painting remains the industry standard for interior living spaces. Despite what the name suggests, modern latex paint does not contain natural rubber sap harvested from rubber trees. Instead, it is a water-based emulsion composed of synthetic polymers, quality pigments, specialized additives, and water as the primary carrier.
The formulation relies on microscopic synthetic resin particles, primarily vinyl acrylic or 100% acrylic resins. When applied to a surface, the water evaporates, causing the binder particles to fuse together into a continuous, flexible film. This process makes waterborne paint exceptionally user-friendly.
Using latex for painting offers major benefits for residential interiors. Because it uses water rather than chemical solvents, it qualifies as a low-VOC paint with almost no odor, making it safe for bedrooms, living rooms, schools, and homes with children and pets. It provides a non-yellowing finish that retains its crisp color for years, unlike traditional solvent-based enamels that degrade over time.
Latex vs. Acrylic vs. Oil-Based Paint: Which Is Better?
Understanding the differences among available formulations helps ensure long-term durability. While latex and acrylic are both water-based, their synthetic binders yield different performance characteristics.
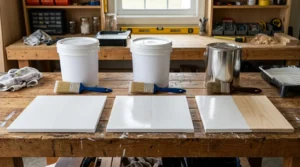
| Feature | Vinyl-Latex Paint | 100% Acrylic Paint | Oil-Based (Alkyd) Paint |
| Base Solvent | Water | Water | Mineral Spirits / Solvents |
| Binder Type | Vinyl Acrylic Polymers | 100% Acrylic Resin | Natural or Synthetic Alkyd Resins |
| VOC Levels | Lowest (Near-Zero) | Moderate to Low | High (Strong Fumes) |
| Elasticity & Adhesion | Moderate | High (Expands/Contracts) | Low (Becomes Brittle) |
| Best Used For | Interior drywall, ceilings | Exteriors, trim, bathrooms | High-abuse metal, industrial trim |
| Cleanup Method | Warm soap and water | Warm soap and water | Solvents and mineral spirits |
For interior drywall and plaster, latex is the most cost-effective and easiest to maintain. Acrylic paint contains specialized resins that allow the coating to expand and contract during severe temperature swings, making it ideal for exterior siding, exterior trim, and high-moisture bathrooms. Oil-based paints offer an ultra-hard shell but carry intense fumes, require chemical solvents for cleanup, and tend to yellow over time.
Types of Latex Paint: Understanding Binder Quality
Not all cans of latex paint perform the same way. The ratio and quality of the synthetic resin binder determine the durability, scrub resistance, and price point of the product.
Vinyl-Acrylic (Standard Wall Paint)
This is the standard formulation found in economy and builder-grade wall coatings. It combines vinyl resins with acrylic binders to offer solid hiding power at an affordable price. It is best suited for low-traffic living rooms, master bedrooms, and rental turnover projects where high scrub resistance is not required.
100% Acrylic Latex and Enamels
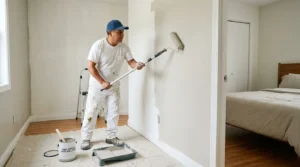
Premium architectural paints use 100% acrylic resin binders. These high-grade acrylic latex enamels offer superior adhesion, higher moisture resistance, and better scuff resistance. If you are coating high-traffic hallways, mudrooms, kitchen walls, or interior trim, choosing a pure acrylic latex ensures the film resists repeated washing without burnishing.
PVA Latex Primers
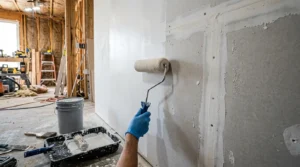
Polyvinyl Acetate (PVA) primers are lightweight, porous sealers designed specifically for raw, unpainted drywall and fresh joint compound. A PVA primer seals porous paper and mud, preventing the final finish coat from flashing or soaking in unevenly.
Best Surfaces for Latex Paint
Latex adheres well to porous and semi-porous architectural materials:
-
Drywall and Plaster: Excellent adhesion; drywall requires a PVA primer or self-priming first coat.
-
Ceilings: Flat latex minimizes light reflection and hides surface imperfections across broad overhead spans.
-
Masonry, Brick, and Concrete: Excellent breathability allows moisture vapor to escape without popping the paint film.
-
Interior Wood and Furniture: Adheres well to wood when properly sanded and primed with a stain-blocking primer.
Avoid applying standard latex directly over bare steel or rusted iron without a rust-inhibitive metal primer, as the water content will flash-rust the metal before the film dries.
The Sheen Guide: Selecting the Right Latex Finish
Choosing the appropriate sheen balances aesthetics with washability. As sheen increases, durability and washability rise, while surface flaw concealment decreases.
-
Flat / Matte (0% to 5% Gloss): Completely non-reflective. Perfect for ceilings, master bedrooms, and low-traffic areas. Hides drywall bumps but should not be scrubbed aggressively.
-
Eggshell (10% to 25% Gloss): Soft, low-luster finish resembling an eggshell. The go-to choice for living rooms, bedrooms, and dining rooms, offering a balance of scuff resistance and soft appearance.
-
Satin (25% to 35% Gloss): Smooth, velvety luster. Great for active living areas, kids’ bedrooms, hallways, and moisture-prone kitchens. Resists fingerprint smudges and wipes clean easily.
-
Semi-Gloss (35% to 70% Gloss): High reflectivity and tough moisture barrier. Ideal for baseboards, interior doors, window casings, cabinets, and bathroom walls.
-
High-Gloss (70%+ Gloss): Glass-like shine with extreme abrasion resistance. Used on accent furniture, exterior doors, and commercial railings where maximum stain resistance is vital.
Step-by-Step: How to Apply Latex for Painting Walls and Ceilings
Achieving smooth, lap-free walls requires standard surface preparation and proper technique.
1. Cleaning and Surface Preparation
Wash the surface with warm water and a mild detergent or TSP substitute to remove oils, dust, and grime. Fill cracks and nail holes with spackle, allow to dry, and sand flush using 150-grit to 220-grit sandpaper. Wipe away all sanding dust with a microfiber cloth.
2. Cutting In the Edges
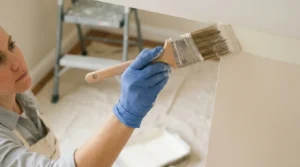
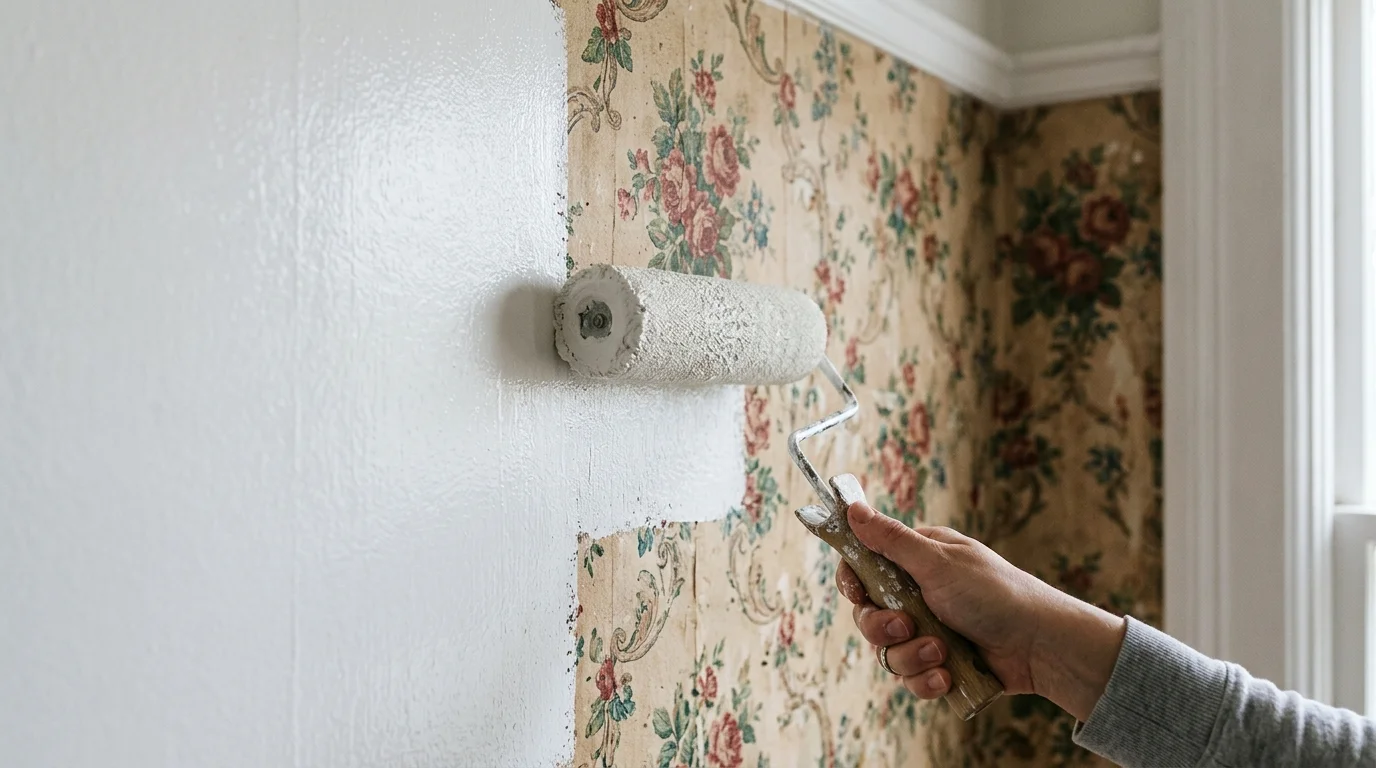
Use a high-quality 2-inch or 2.5-inch synthetic bristle brush (nylon and polyester blend). Dip the brush one-third into the paint, tap off excess, and paint a 2- to 3-inch border along the ceiling line, baseboards, and inside corners. Maintain a wet edge to blend smoothly with rolled sections.
3. Rolling with the “W” Technique
Use a 3/8-inch nap microfiber roller cover for smooth drywall (or a 1/2-inch nap for light texture). Load the roller evenly in a tray. Work in 4×4-foot sections, rolling the paint in an upward “W” or “N” shape, then immediately fill in the pattern with parallel vertical passes. Lay off the section by lightly rolling from top to bottom in single, continuous strokes to eliminate roller stipple.
4. Recoat Timing
Allow the first coat to dry for 2 to 4 hours depending on room temperature and humidity before applying the second coat.
Step-by-Step: Using Latex for Painting Furniture and Woodwork
Using latex for painting vintage wood furniture, tables, and cabinets provides an affordable, custom finish when paired with proper prep.
-
Disassemble and Clean: Remove all hardware, hinges, and drawer pulls. Clean the wood thoroughly with mineral spirits or a degreaser to strip wax and grease.
-
Repair and Sand: Fill deep gouges with high-performance wood filler. Once dry, scuff-sand the entire piece with 220-grit sandpaper to break the existing clear coat and create mechanical tooth.
-
Apply a Stain-Blocking Primer: Apply one coat of shellac-based or high-adhesion acrylic primer to prevent wood tannins and knot bleed-through from discoloring the final paint.
-
Apply Thin Coats: Use a high-density foam roller for flat panels and a fine synthetic brush for detailed trim. Apply 2 to 3 thin coats rather than one thick layer. Lightly sand between coats with 320-grit paper to remove dust nibs and brush drag.
-
Topcoat Consideration: While high-grade latex enamels dry hard, high-use tabletops benefit from 2 coats of water-based polycrylic clear coat for long-term scratch protection.
Spraying Latex Paint with an Airless Sprayer
Spraying latex provides a smooth, factory-grade finish on large areas, exterior siding, paneled doors, and textured ceilings.
-
Nozzle and Tip Sizing: Because waterborne paint is thicker than solvent paints, select an airless spray tip between 0.015 and 0.019 inches (such as a 515 or 517 tip for broad walls, or a 313 to 315 fine-finish tip for trim and doors).
-
Pressure Settings: Adjust the sprayer to the lowest pressure setting that atomizes the paint cleanly without producing heavy tails (thick bands at the edges of the spray fan).
-
Technique: Hold the spray gun perpendicular to the surface at a distance of 10 to 12 inches. Trigger the gun before starting your sweep and release after passing the target edge. Overlap each pass by 50% to maintain uniform thickness and avoid drips.
Drying vs. Curing: The Timeline You Need to Know
A common mistake in DIY painting is confusing dry time with full cure time.
-
Dry to Touch (1 to 2 Hours): The surface moisture evaporates, making the paint feel dry. The underlying binders remain soft.
-
Recoat Time (2 to 4 Hours): The film is firm enough to accept a second coat without tearing or lifting.
-
Full Cure (14 to 30 Days): Synthetic polymers cross-link and harden into a durable protective barrier. Avoid aggressive scrubbing, placing heavy objects on painted shelves, or washing walls until the paint has cured for at least two weeks.
Common Mistakes and How to Fix Them
Peeling Over Glossy or Oil-Based Paint
Latex cannot adhere directly to glossy surfaces or old oil-based paints without mechanical tooth. Perform an alcohol rub test: soak a cotton ball in isopropyl alcohol and rub the old surface. If paint comes off, it is latex. If it remains intact, it is oil. To paint over oil, sand the surface with 180-grit paper, apply a dedicated bonding primer, and finish with your latex topcoat.
Visible Brush Strokes and Fast Drying
In warm or arid climates, latex for painting can dry too quickly, preventing the wet film from leveling. Add a water-based paint conditioner like Floetrol to extend the open working time, improve brush leveling, and eliminate brush and roller marks.
Blistering and Bubbling
Moisture trapped beneath the surface causes bubbles to form. Always ensure plaster and wood are dry before painting, avoid painting in extreme humidity above 85%, and never paint in temperatures below 50°F (10°C).
Safe Cleanup, Storage, and Eco-Friendly Disposal
Cleaning up after using latex for painting requires no harsh solvents:
-
Tool Cleaning: Wash brushes, roller frames, and spray tips with warm water and liquid dish soap. Use a wire brush comb to remove paint buildup near the ferrule.
-
Can Storage: Wipe the rim clean to ensure an airtight seal. Place plastic wrap over the can opening, seat the lid, and tap gently with a rubber mallet. Store in a climate-controlled area protected from freezing temperatures.
-
Disposal: Never pour liquid latex down household drains. Allow small amounts to dry in the open air, or mix larger leftovers with clay cat litter or commercial paint hardener until solid before tossing in the regular trash according to local regulations.
FAQs
Can I apply latex for painting directly over existing oil-based paint?
No. Standard latex will peel off smooth oil coatings over time. You must first clean the surface, scuff-sand it thoroughly with 180-grit sandpaper to remove the gloss, apply a high-adhesion bonding primer, and then apply your latex topcoat.
How do I get a smooth finish without brush marks using latex for painting?
Use synthetic nylon-polyester brushes, apply the paint in thin, even coats without overworking dried areas, and mix in a paint conditioner to improve self-leveling across flat surfaces.
Is latex paint waterproof once dry?
Latex paint is water-resistant, meaning it handles light splashes and routine damp-cloth cleaning. However, it is not waterproof for submerged applications or areas with pooling water. High-moisture bathrooms should use a satin or semi-gloss 100% acrylic enamel for maximum moisture protection.





Leave a Reply